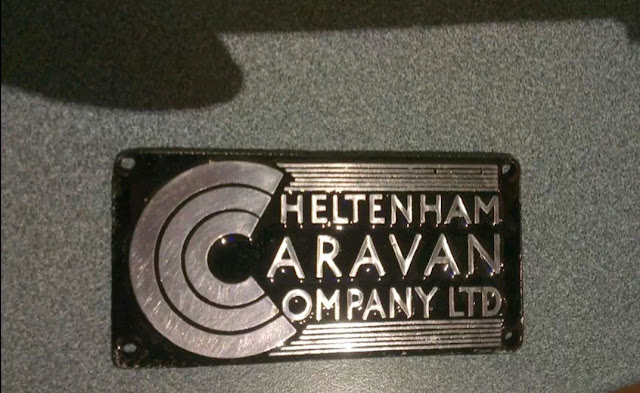
Another little job to do, is to refurbish the Cheltenham badge.
Firstly give it a good scrub with a wire brush, to remove all the corrosion. Don't be tempted to use a wire brush attachment for a drill, as this can be too harsh and can easily damage the soft metal that the badge is made from.
The next step is to paint the whole thing black.
Aerosols are the best to use for this. I used satin black, but you could use gloss or matt, as the it will get painted over later, so the finish doesn't matter.
Two coats later and it should look a little like this.
Now the fun bit! Using a sand block and some 400 grit wet and dry, sand the face of the badge, to cut the paint back over the raised lettering. You need to make sure, to keep the sanding block flat to the badge and the paper tight to the block, otherwise you'll round the edges of lettering off. Keep carefully sanding until the letters are nice and shiney with no signs of corrosion.
Next, give it a quick wash to clean all the dust away, and dry off. Once dry, give it several coats of automotive clear lacquer. I sprayed five coats, to get a deep shine.
And there you go as good as new.
If you want a deeper lustre, just keep applying coats of clear lacquer.
Here's one I did with 20 coats


