Showing posts with label Cheltenham caravan puku. Show all posts

Sunday, 26 April 2015

Fitting new Fixed Window Seals


Not going to lie, these are not the easiest things in the world to do. But with a little patience and couple of little trick this job can be made a lot easier. 

Firstly you will need to order your new rubbers. There are a few different companies out there that can supply all manor of seals, Woolies, Baines and Seals Direct to mention a few. I used Seals direct.
 The picture shows the profile of the type of rubber you will require.
It will need to be 6mm gap at one side and 5/6mm gap the other side depending on the thickness of the glass. The one used here, is part no. WR67 from Seals Direct which is 6mm and 5mm. (Correct code 2015)
You will also require an infill strip. These are available in white chrome or black. I'm using white the same as the originals. Part No. FS74.(Correct 2015)


You will also need some thin para-cord. This will make life a lot easier when getting the window into the aperture.
If you have replaced the ply cladding around the windows you may find that its is thicker than the old ply, as I did. In this case I shaved off one layer off the back of the ply to reduce the thickness. I also found the middle of the new rubbers were slightly thicker than the old rubbers so i had to make the opening slightly larger by a few millimetres so the rubber would sit flat.

I placed gaffa tape over the edges of the opening to smooth the edges of the ply and fibreglass. The Gaffa can be trimmed off after.

Start off by fitting the new rubber around the glass and cutting to size. The join needs to be at the top of the window. Then take your para-cord and run it round the outside grove of the rubber, with both tails to the bottom of the window. I used Gaffa tape to secure everything in position until i was putting it position, carefully removing as the rubber goes on.


Get the bottom  of the window seated properly and centrally, working from the outside of the van. At this point it is a big help if you have someone who can help by holding the window from the inside.

Whilst applying light even pressure on the glass, start pulling the para-cord out. this should pull the lip of the rubber over the edge of the opening. Don't apply too much or uneven pressure or you will risk breaking the glass. If it didn't feel like it wants to go in don't force it. Once in, even out the rubber as best as possible.

Now its time for the infill. There is a special tool you can buy to help putting this in. I did have one so I fabricated something similar from coat hanger wire. It needs to kind of a diamond shape in the end of it.
Lubricate the opening, washing up liquid works a treat. Run the tool down the opening, point first at about a 45 degree angle to the rubber, whilst pushing the infill strip into place. It might take a little time to get the hang of it. The corners are the most difficult part of the whole job, as they are so tight. Just take your time and wiggling the tool can help get it round the corner. Any little bits that have not quite seated right can be put in later by running a screw driver down.

Give it all a good wash to get rid of all the washing up liquid and trim back any Gaffa tape and you're done. It may be necessary to use some sealant on the corners depending on how well they fit.

Thursday, 12 February 2015

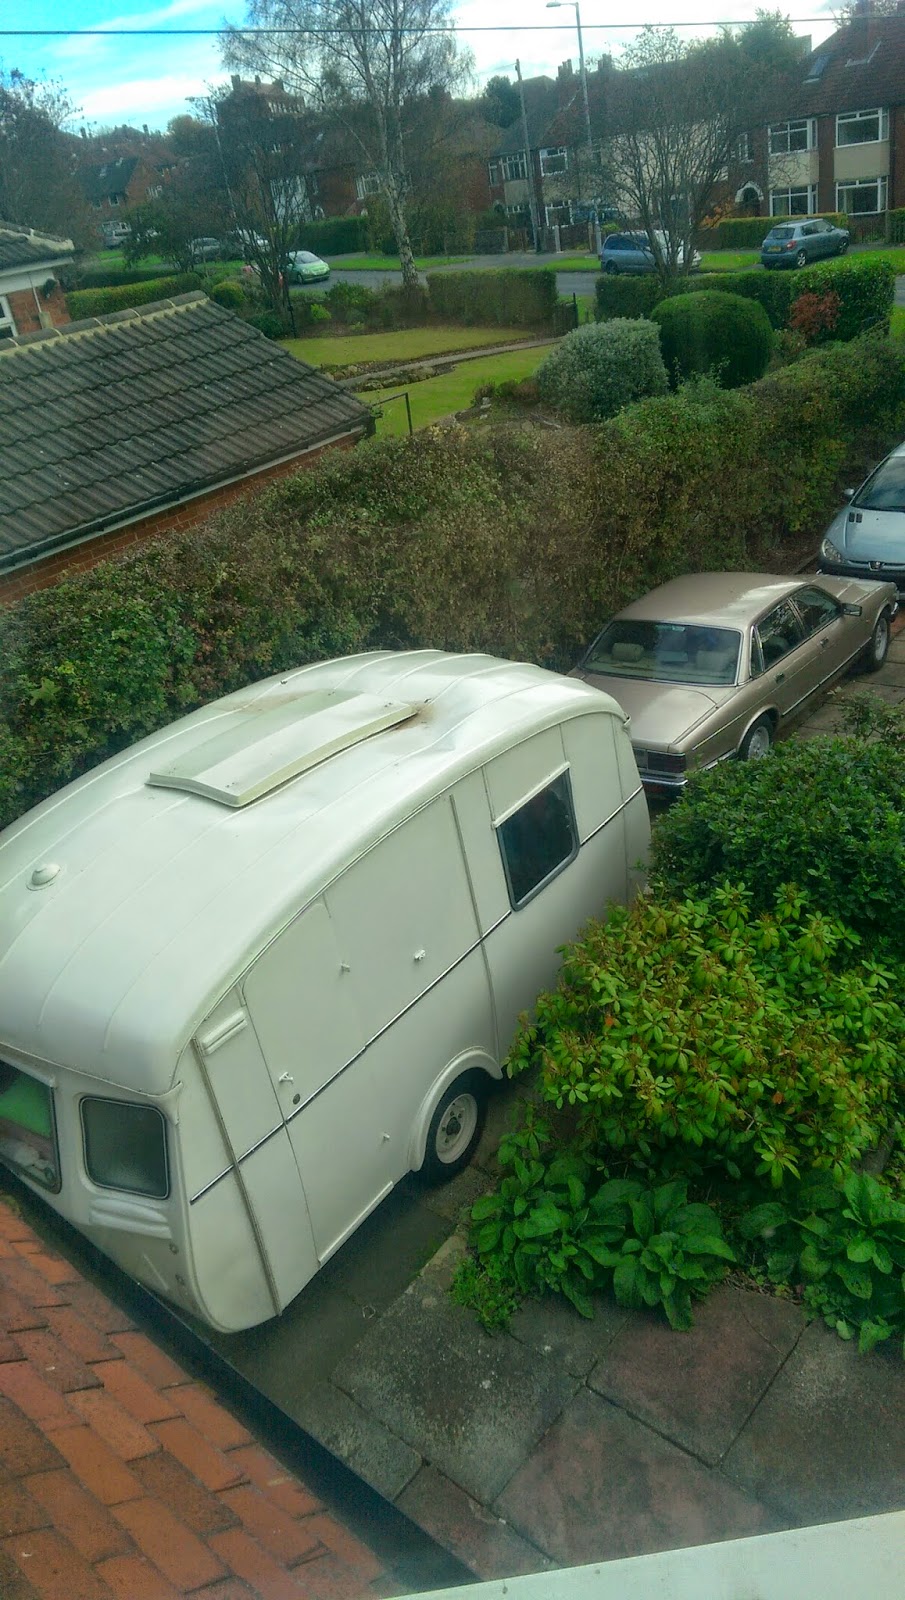
Cheltenham sable makes a final trip

I recently became the owner of a not-very-well 1970 Cheltenham Sable, that I'd initially hoped to be able to save. The caravan had been another victim of a so called professional restorer, Phoenix/Burtree Caravans. I have spoken to several people who have fallen fowl of this company and their shoddy workmanship - worse still, some never got their caravans back. All had paid thousands for a full restoration.

From a few paces away the Sable look good but upon closer inspection it was found that the entire body was twisted, all of the fibreglass panels had been chopped about, and a considerable amount of framework missing (not rotten just missing).What was there was not usable, with only 1 upright intact and original. As a result, the body had been fastened directly to its newly fitted chipboard floor which, as you can imagine, didn't like the rain, meaning the body to slowly sink around the chassis. The framework around the skylight had been broken, causing water to pool and leak in as the roof collapsed. On top of all this, there were gas pipes that had been cut and not capped off, the wiring was not to the best standard with joins all over the place, the cupboards had been so badly put back together most of the drawers were either stiff or impossible to open, and the oven door couldn't be opened                                                        because of the cupboard stopping it.

As it would need completely stripping down to the chassis and rebuilding, the hard decision was made to break it up for spares. Although in such a state, it had many new and original usable parts and fittings that could help others stay on the road. 


I started by removing all small fittings; lights, cushions, pelmets and small cupboards. I then starting to remove the rest of the interior. Easier said than done! It turned out that the entire caravan had been glued together with car body seam sealant! The guy must have had shares in them by the amount that was used! The job of stripping out the interior should have only taken a day but took nearly a week!

The body was a similar story. The more I took out, the more of the horrendous workmanship was revealed. It was totally unsafe with pieces of chassis missing, amongst other things.
On the plus side, it has saved me a lot of time and money in parts for my Puku, with plenty of spares for my other Sable too. I have a full set of windows with new rubbers, interior and exterior lights, soft furnishings, running gear, and various cupboards and doors, which will definitely save time on my Puku.


Sunday, 2 March 2014

New cupboards take shape

Plans to bring the puku home this week failed, due to the car deciding to act up. So I decided to start getting the rotten  cupboards rebuilt.

After dismantling the rear over sink cupboard, all that was left, in a usable state was the frame that the sliding doors mount in. Even the sliding doors themselves were of no use, as they been so vigorously sanded in the past, they'd sanded through the top layer of the ply. The rest was just completely rotten. 

The frame was sanded down and given 4 coats of varnish.
I dismantled the cupboard as carefully as I could, to ensure that I would still be able to use the remains as templates. This way I quickly had the side panels and the top cut from 9mm plywood and the bottom from 6mm plywood. A bit of glue down each rebate and a few panel pins, hold the whole lot in place.
Whilst I was waiting for the glue to dry, I made a start on the very delicate front pelmet. I'd already manage to remove the ply front and shelf front but dismantling the rest of the structure looked like it wasn't going to end well. I decided to mark out the top and bottom panels, directly on to the new timber, before attempting to dismantle it any further. I then cut the new panels, again from 9mm plywood, and checked them against the originals. This proved to be a good plan, as the second I started to prise the panels apart, they literally disintegrated!
With such a complicated piece, it's always advisable to take as many photos as possible. These as invaluable references when reconstructing. 

I measured out where all the the uprights were to go on both pieces, then drilled and screwed them together. 
The next step, was the end panels. The originals were starting to delaminate but after a bit of thought, I decided to repair them, rather than replace, so they would match the rest of the unit. 
They were given a good sanding and then plenty of glue squeezed between each lamination, before clamping them up and leaving them to set over night.

The following day, the end panels were fixed in place. This gave me the positions to fit the battoning for the front panels and shortly after the front panels themselves we fixed in place with pva and panel pins. A hockey stick moulding covers up the join in the top shelf. 

An oval piece was cut from 9mm ply and stained to match, then fixed to the middle of the top shelf. This will be where the gas light will fit. The whole unit was then given 3 coats of satin varnish.

The last job was top fit the white hardboard backing panels. These are just glued in place. 

Back with the over sink cupboard, the next job was to remake the doors. Having selected a piece of 4mm ply with a nice grain, the doors were cut, using the old doors as a guide. The handles and catches were then transferred from the old doors. The edges of the doors have to be thinned down to 2mm, to fit into the runners. They can then be squeeze into the runners before fixing the center brace back on to hold them in. The last job for this cupboard was again the white hardboard backing panel, which is just tacked in place.